How to record videos to PC with ClonerAlliance UHD Pro Max?
Complete guide to recording videos directly to your PC using the ClonerAlliance UHD Pro Max and companion software.
Connection Setup

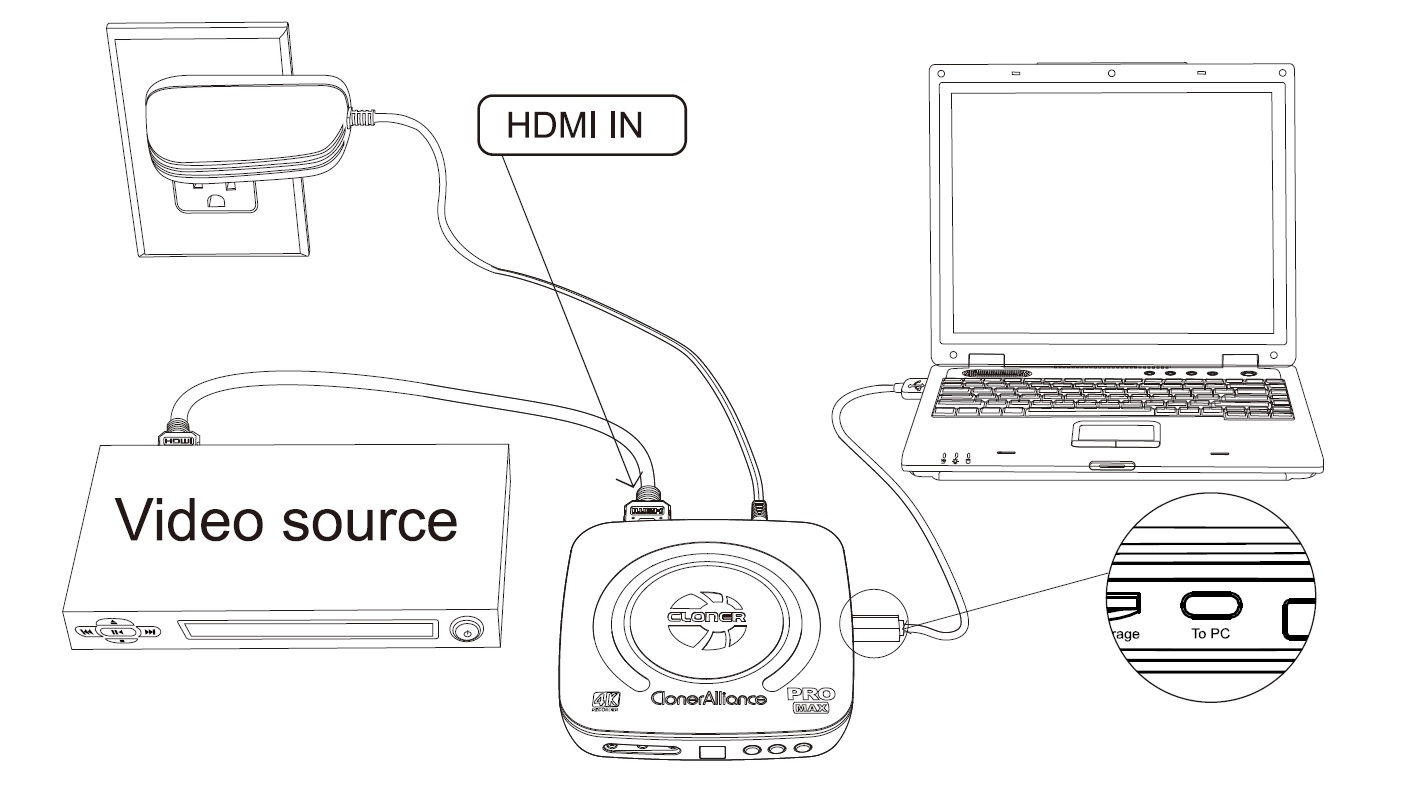
Required connections:
Hardware Setup
HDMI source to IN port
USB-C to PC connection
Power adapter connection
Optional display output
Driver Installation
Install ClonerAlliance Helper
Verify device detection
Software Configuration
ClonerAlliance Helper setup:
Setting |
Configuration |
|---|---|
Recording Format |
MP4/TS Selection |
Video Codec |
H.264/H.265 |
Resolution |
Up to 4K@30fps |
Storage Path |
Custom directory |
Recording Process
Step-by-step guide:
After all devices are connected properly, power on the video source device and launch ClonerAlliance Helper on PC.
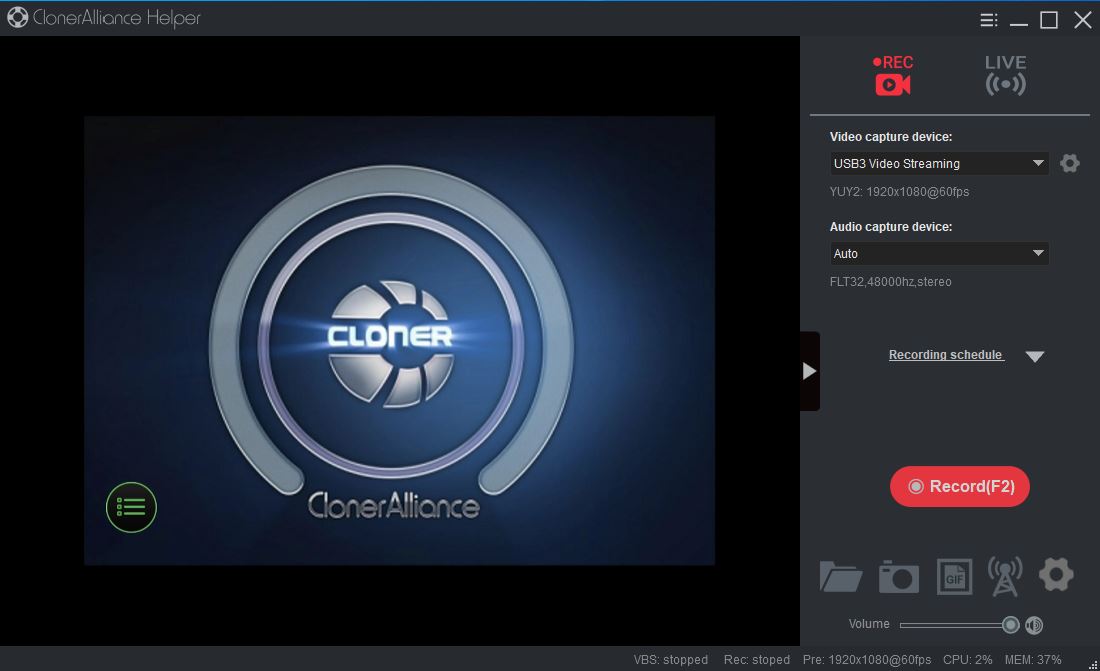
If everything is ok and you will see the image of the video source as below:

Press “Record” to start recording, and you can pause/resume during recording at any time. Then press “Stop” to finish recording.
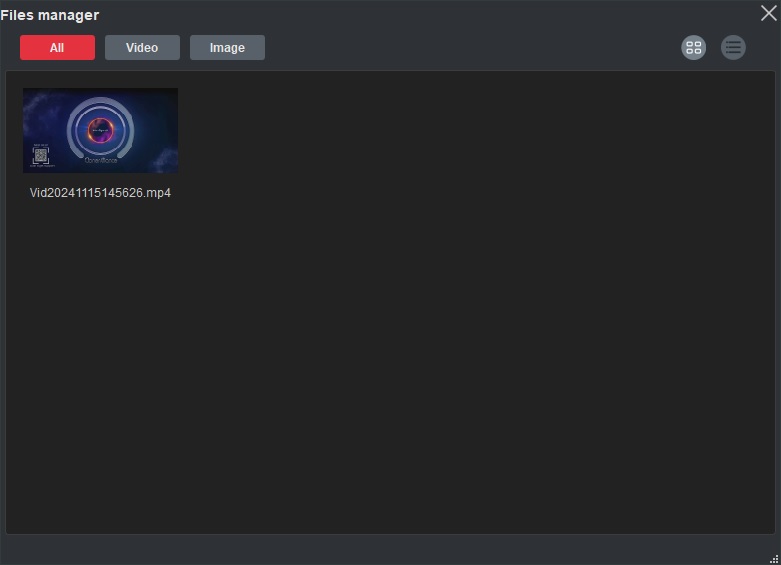
You can manage all recorded files by clicking “File” button.

Troubleshooting
Common issues and solutions:
Issue |
Solution |
|---|---|
No Signal |
Check connections |
Driver Error |
Reinstall software |
Recording Fails |
Check disk space |
Warning
Ensure sufficient disk space before long recordings.
Note
Regular software updates ensure optimal performance.
For software installation details, see Installing ClonerAlliance Helper for UHD Pro Max.