Setting Up Scheduled Recording in ClonerAlliance Box Pro Pocket
The ClonerAlliance Box Pro Pocket allows you to set up scheduled recordings, enabling you to capture video content at specific times without manually starting the recording.
How to Set Up Scheduled Recording
Insert your storage device: Connect a USB drive, TF card, or external hard drive to the device.
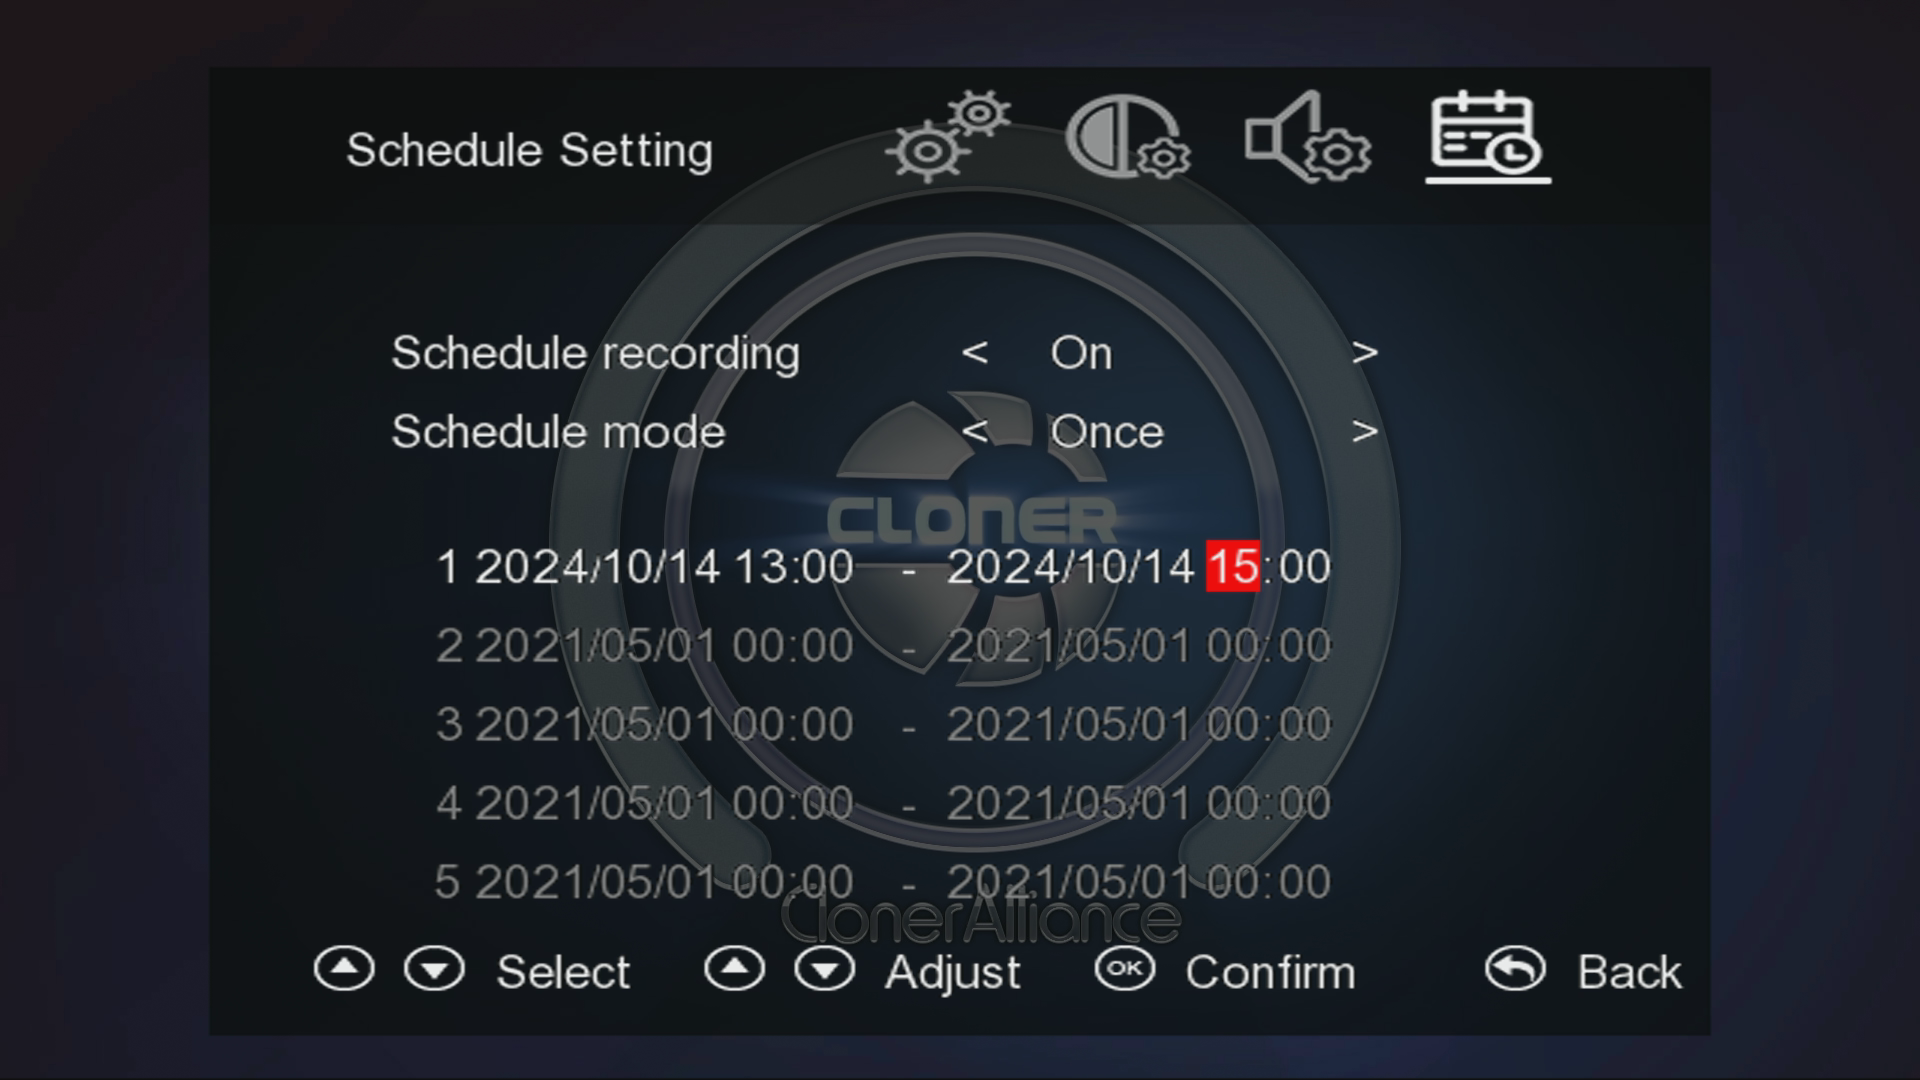
Enable Schedule Recording: Press the Menu button on the device or remote and navigate to the Schedule Recording section.
Set the system time: Ensure that the correct system time is set by navigating to the System Settings and entering the date and time.
Create a schedule: In the Schedule Recording menu, choose the start and stop time for your recording. You can set it to record once or on a daily basis.
Save the schedule: Once you’ve entered the schedule details, save the settings and exit the menu. The device will automatically start recording at the designated time.
Best Practices for Scheduled Recording
Ensure the video source is ready: Make sure the video source (e.g., set-top box, game console) is turned on and outputting a signal at the scheduled time.
Check storage capacity: Ensure the connected storage device has enough space for the scheduled recording session.
Review the time zone: Verify that the time zone settings match your location to avoid any discrepancies.
Note
The device will automatically stop recording after the set time, even if the video feed continues.