Setting Up Scheduled Recording
Instructions for setting up scheduled recordings with the Screen-Cloner Dongle.
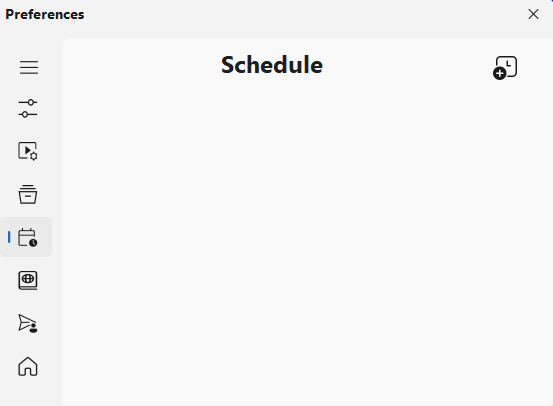
Windows OS
Open the Screen-Cloner Application.
Navigate to the scheduling section in the settings menu.
Set the start time and duration for the recording.
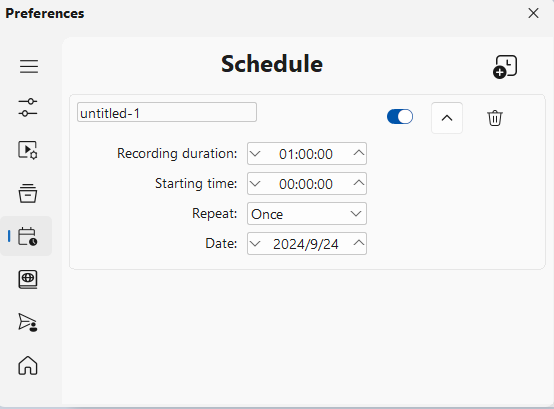
Save your scheduled recording settings.
The application will automatically start and stop recording at the specified times.
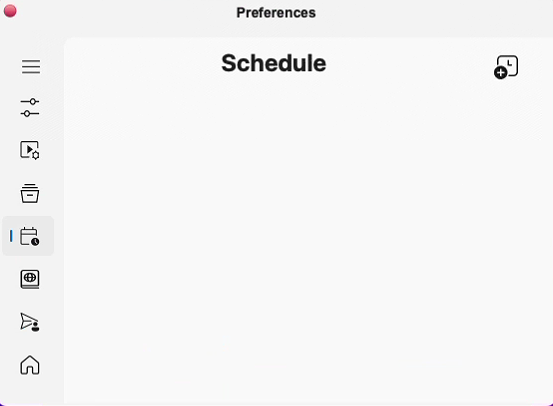
Mac OS
Open the Screen-Cloner Application.
Navigate to the Perference->Schedule section in the settings menu.
Set the start time and duration for the recording.
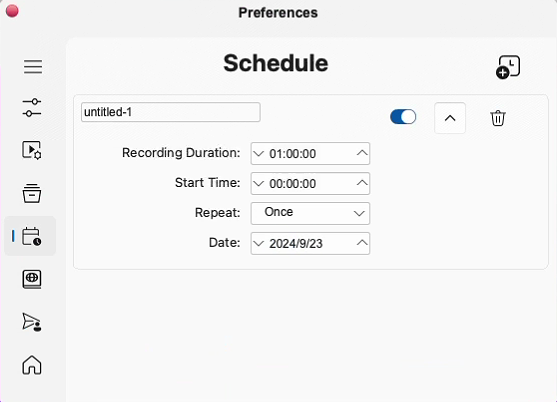
Save your scheduled recording settings.
The application will automatically start and stop recording at the specified times.